
Advanced Excel — Management, Analysis, and Automation
Module 1 · Module 1 — Advanced Formulas and Functions · Lesson 1 of 1
Conditional functions (IF, nested IF, SUMIF)
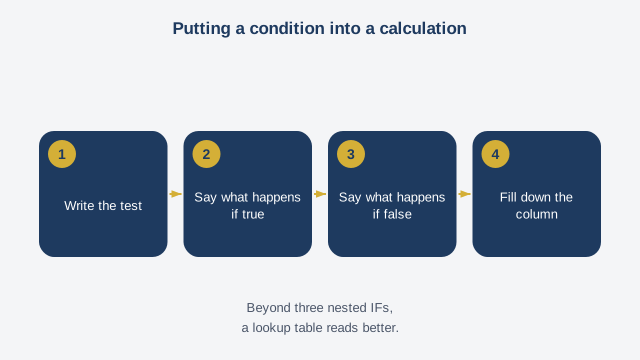
Until now, your Excel formulas always calculated the same thing, regardless of the situation. Conditional functions change that: they let Excel make a different decision depending on the data, exactly the way you'd do it mentally yourself. The IF function is the most fundamental: it tests a condition and returns one value if it's true, another if it's false. Its structure is "=IF(condition, value if true, value if false)". For example, "=IF(B2>50000, "Target reached", "Target not reached")" displays one message or the other depending on whether cell B2 exceeds 50000 or not. When a single condition isn't enough, you nest several IFs inside one another. For example, to classify a grade as "Excellent," "Good," or "Needs improvement": "=IF(B2>=16, "Excellent", IF(B2>=12, "Good", "Needs improvement"))". Excel tests the first condition first; if it's false, it moves to the next one, and so on. Beyond three or four levels, these formulas become hard to read — in that case, other more suitable functions exist, but they go beyond the scope of this lesson. Finally, SUMIF adds up only the values that meet a condition, without needing a separate IF. For example, "=SUMIF(C2:C20, "Ouagadougou", D2:D20)" adds up every value in column D, but only for the rows where column C exactly contains "Ouagadougou" — extremely useful for filtered totals without having to manually sort or filter the table. For this lesson, create a small data table with at least one numeric column and one category column, then build an IF formula and a SUMIF formula based on that data.
Free preview, no account needed — the rest of this module and the following modules unlock after enrolling.
Convinced? Enroll to unlock the full course.
See pricing