
Automating with Zapier
Module 1 · Module 1 — Discovering Zapier and Building Your First Zap · Lesson 1 of 1
Your First Zap: From Appointment Form to Tracking Sheet
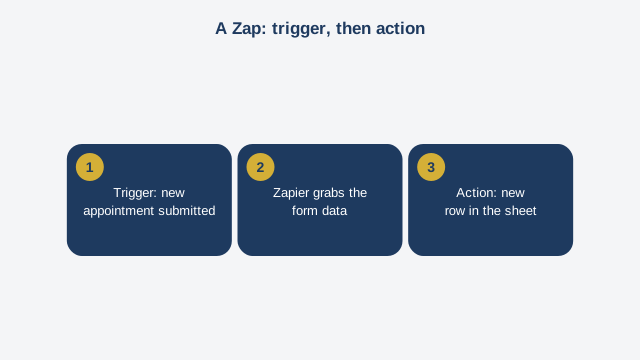
Welcome to the first module of the Automating with Zapier course. Before touching the tool, let's start with a simple idea. Automating means handing an automatic task over to a computer instead of doing it yourself, so it runs on its own the moment a specific event happens. Zapier is the simplest tool in the world for doing exactly that, without writing a single line of code. In Zapier, an automation is called a "Zap." Every Zap is built from just two pieces. First, a trigger. That is the event that starts the Zap: a new row in a spreadsheet, a new message received, a new form submitted. Second, one or more actions. Those are the steps Zapier runs automatically once the trigger fires: sending an email, adding a row to a spreadsheet, notifying someone on a messaging app. That is really all there is to it. Trigger, then action. This course will teach you to combine these two building blocks in increasingly useful ways, module after module. Why Zapier over another tool? Because it connects more than seven thousand different applications, through an interface built for someone who has never programmed. You almost never need to understand how applications talk to each other behind the scenes — Zapier handles that, you just pick the trigger and the action from drop-down menus. That is what makes it the fastest entry point into automation, compared to more powerful but more technical tools like Make or n8n, which you may explore later if your needs grow more complex. To start, you will create a free Zapier account. The free tier is more than enough for every exercise in this course: it lets you build several simple Zaps, with a limited number of tasks run each month — plenty for learning and for small real-world uses. Once your account is set up, building a Zap always follows the same steps. First, you choose the app that triggers the Zap, then the exact event to watch for in that app. Next, you connect your account to that app, giving Zapier permission to access it. Then you choose the destination app and the action it should perform. Finally, you link the two together: information captured by the trigger — a name, a date, a phone number — can be inserted directly into the action, so every run of the Zap is personalized with the real data from that event. Before turning a Zap on, it is always recommended to test it with a real example. Zapier offers a test button that simulates a run using a recent real piece of data, so you can confirm everything works as expected before letting the Zap run on its own. Let's take the example you will use for your exercise. Picture a mobile hairdresser in Kinshasa who takes appointment requests through an online booking form. Right now, every new request arrives by email, and has to be copied by hand into a notebook to keep track. The result: missed entries, and sometimes two appointments booked for the same slot without anyone noticing. Your first Zap will solve exactly that problem: the moment a new appointment is submitted through the form, a new row is added automatically to a spreadsheet, with the client's name and the requested date and time — with nobody having to copy anything by hand. Before moving to the exercise, remember the core idea of this module: a Zap is a trigger followed by an action, and it is always worth testing before turning it on.
Free preview, no account needed — the rest of this module and the following modules unlock after enrolling.
Convinced? Enroll to unlock the full course.
See pricing